
How this helps you start strong
You want dentures that fit on the first try, with fewer visits and clearer expectations. Begin by thinking about the whole process from your chair: capture, design, print, finish. Labs and clinics I consult with often pair intraoral scans with a reliable dental model 3d printer, and that combo shows up regularly at industry gatherings like IDS Cologne—practical setups rather than theoretical kits. I’ll keep this focused on what you, the clinician or lab tech, can control today.

What matters most to patients (and why you should care)
Patients judge success by comfort and fewer adjustments. That means your priorities are accuracy at capture, consistency in design, and predictable material handling. When you center your choices on those outcomes, each step becomes a deliberate quality control point instead of a guessing game.
Step 1 — Capture with intent
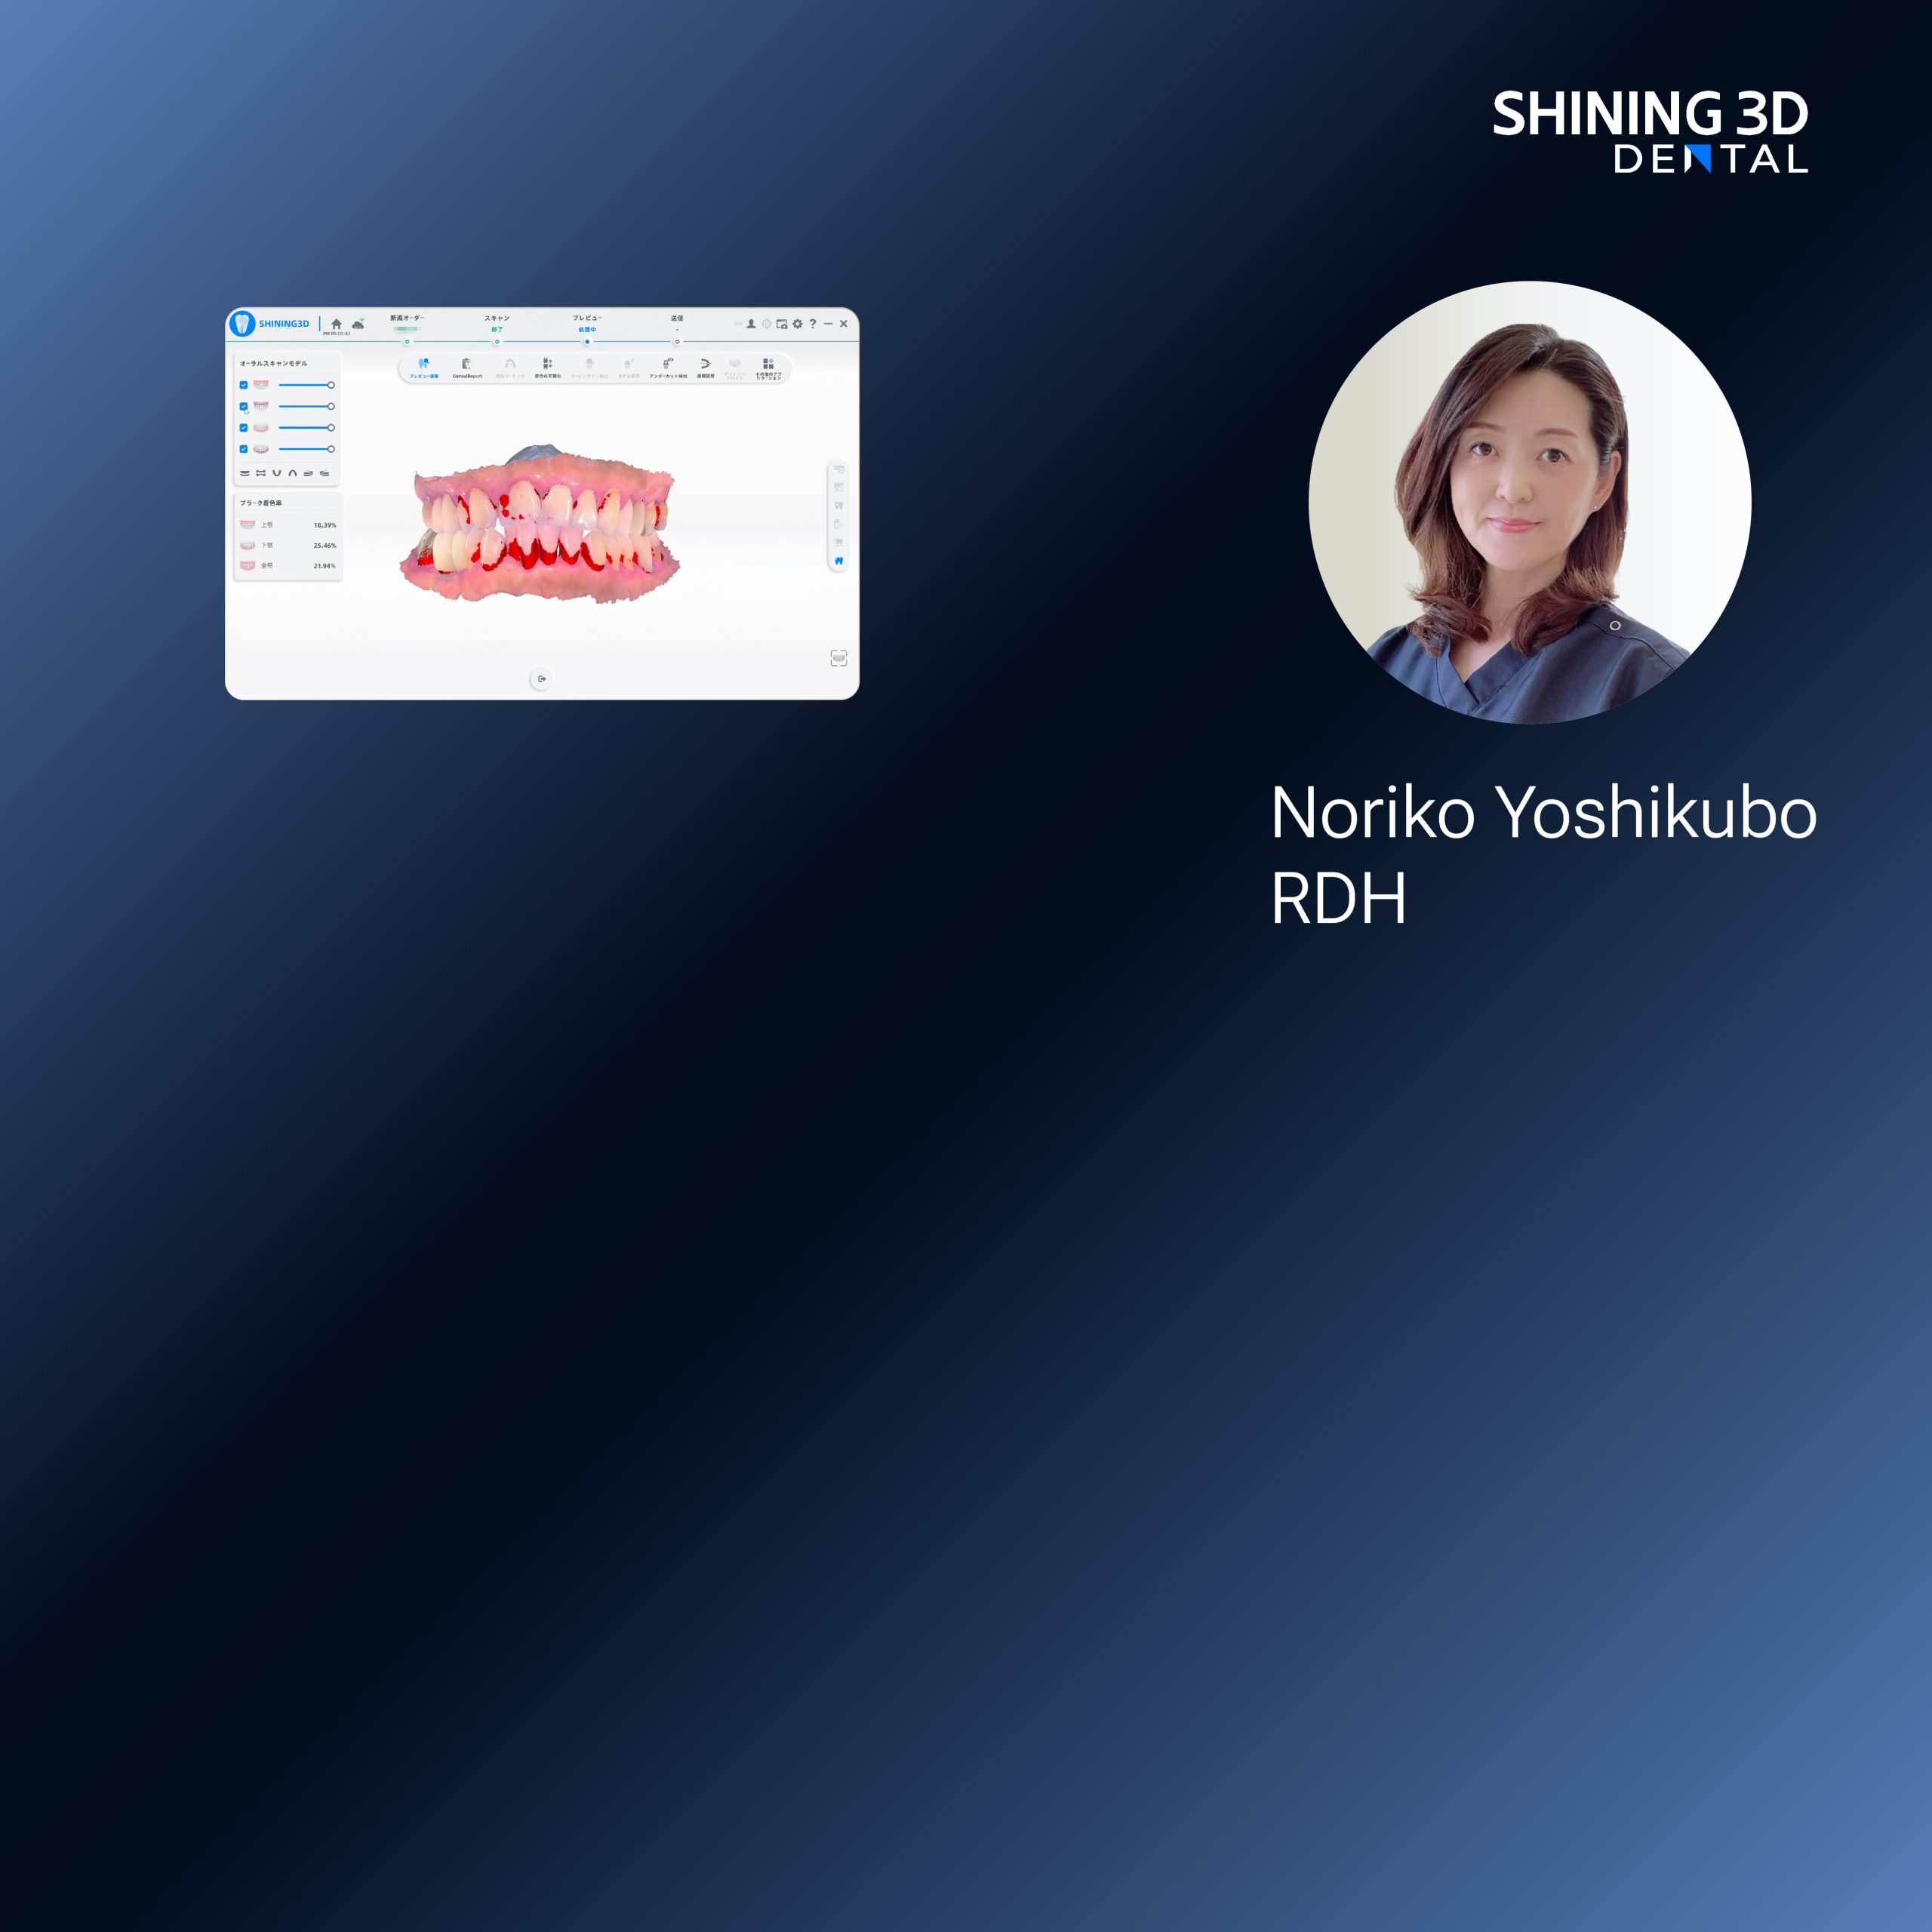
Get a full-arch capture that preserves vestibular depth and occlusal relationships. If you’re using scans instead of physical impressions, check edge detail and bite records right away. Don’t accept fuzzy margins; rescanning one region costs far less time than redoing a whole case later.
Step 2 — Design for verification
Set up your denture base and teeth as separate layers for easier adjustments. Use standardized insertion paths and virtual try-in checks. Export a printable model that includes clear registration features and occlusal index points so the printed try-in sits exactly where the software intended.
Step 3 — Print setup and calibration
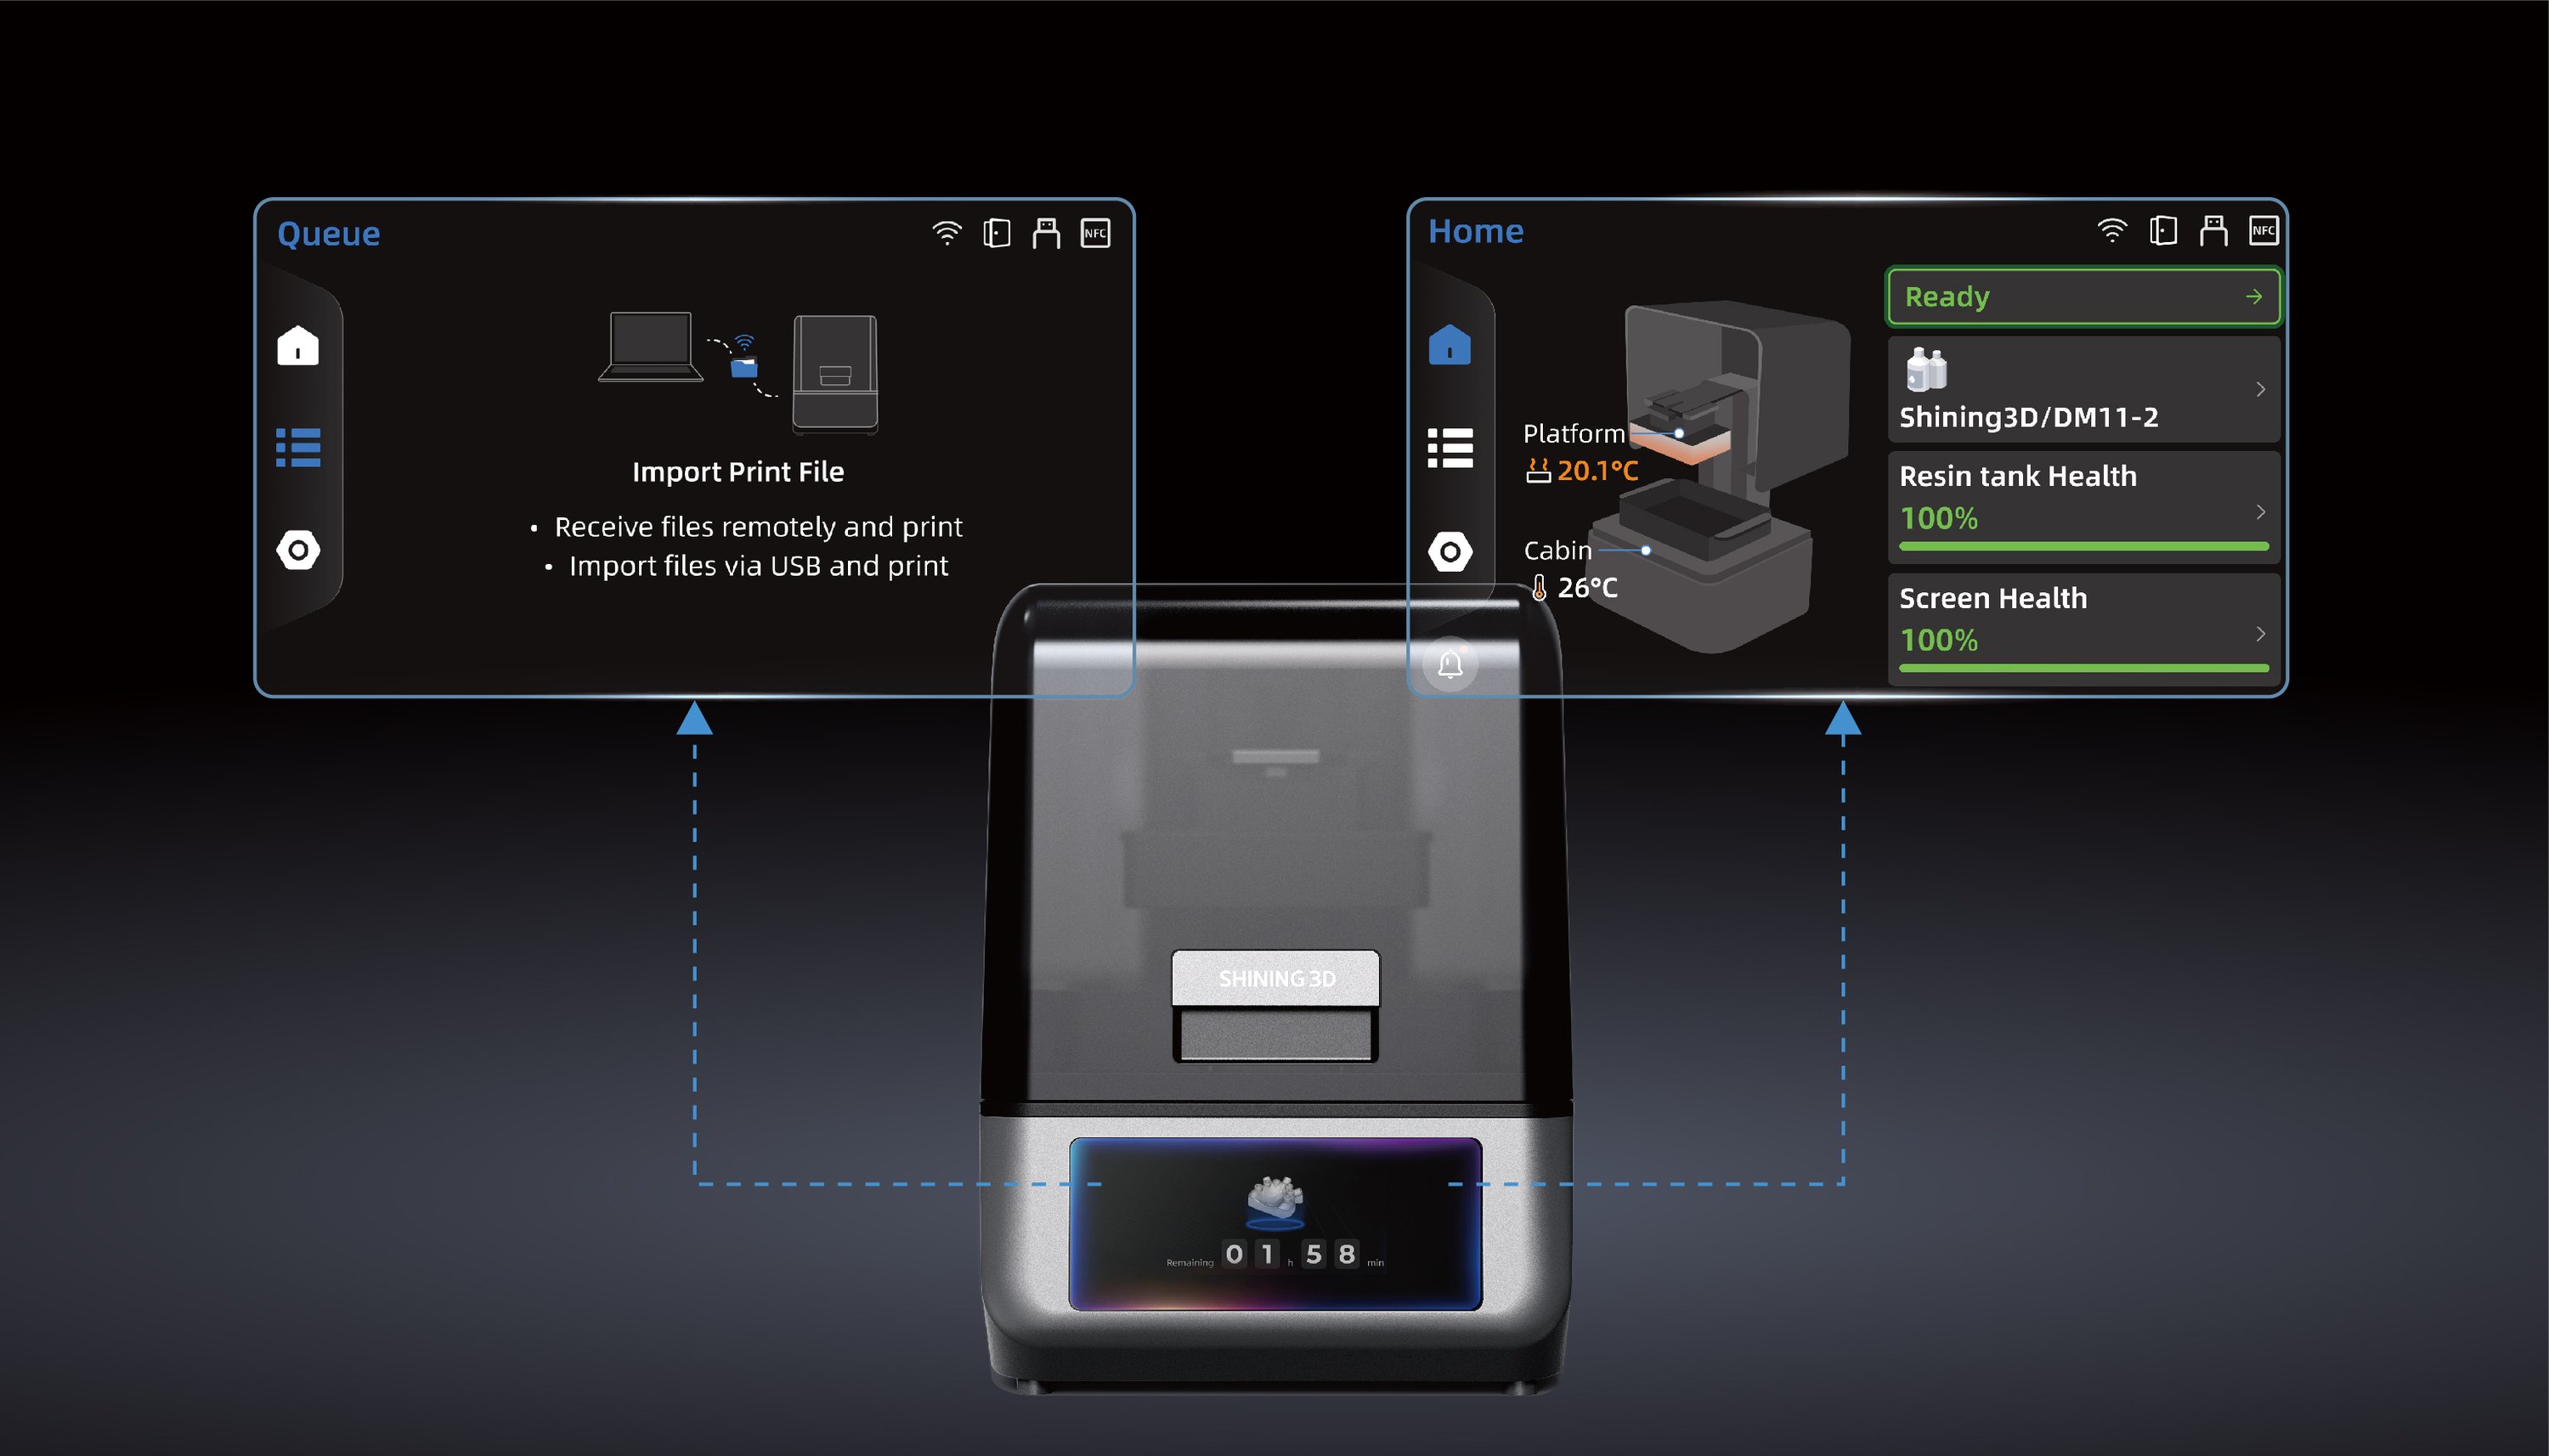
Make a short checklist: correct orientation, support placement that avoids registry areas, and verified layer thickness for your chosen resin. Run a quick calibration block before a full-case print—small test prints reveal layer adhesion and dimensional drift. Treat the first print of a case like a pilot; it tells you whether to proceed or adjust.
Step 4 — Post-process with standards
Rinse, cure, and remove supports with constant force limits to avoid warping. Finish edges gently; aggressive trimming changes fit. Always re-check vertical dimension and occlusion after post-processing—materials can change subtly during curing. If adjustments are needed, change the model or design parameters rather than forcing the denture to match a compromised fit.
Common pitfalls and how to avoid them
Skipping verification scans, underestimating support placement near critical surfaces, and ignoring material-specific curing instructions are the top causes of remakes. Solve them by adding a small verification scan, mapping supports away from margins, and logging your curing cycle times. Keep a short case log with what worked and what didn’t—patterns show up fast.
Viable alternatives and quick trade-offs
Traditional impressions still win when soft tissue dynamics are unpredictable. Milling gives strong, homogeneous bases but needs robust equipment. Digital-only workflows cut steps but demand stricter capture discipline. Pick the approach that matches your clinic’s strengths: if you excel at scanning and design, lean digital; if you need mechanical resilience, consider milled bases and printed try-ins.
Final synthesis
Focus on the user—your patient and your team—at every handoff: clear scans, verifiable designs, predictable prints, and careful finishing. That sequence reduces surprises and makes quality repeatable. For many practices and labs I collaborate with, integrating reliable hardware and software streams consolidates those gains into everyday cases, and that practical coherence is what SHINING 3D DENTAL brings to a straightforward, clinical workflow.