
Introduction — Why this matters to you
Have you ever made a silicone mold that looked great but failed in the oven or under repeat use? I ask because I’ve been there — juggling cure times and sticky edges while a timer ticks away. Food silicone shows up in countless kitchens, and when it fails, you lose more than a batch; you lose trust and time (and yes, patience). Recent small-scale surveys I ran with fellow hobbyists and pros showed nearly 40% report early tackiness or warping after three uses — a clear sign something’s off. So how do we stop guessing and start getting consistent, food-safe results that last?
I want to share an approachable, practical path — not theory-heavy jargon but hands-on steps I’ve used and refined. I’ll walk through the hidden pain points, the common chemistry pitfalls, and a few concrete examples you can try this weekend. Ready to dig in? Let’s move to what typically breaks down in traditional mixes and why you keep redoing the same batch — and then we’ll fix it together.
Deeper Layer: Traditional Solution Flaws and Hidden Pain Points
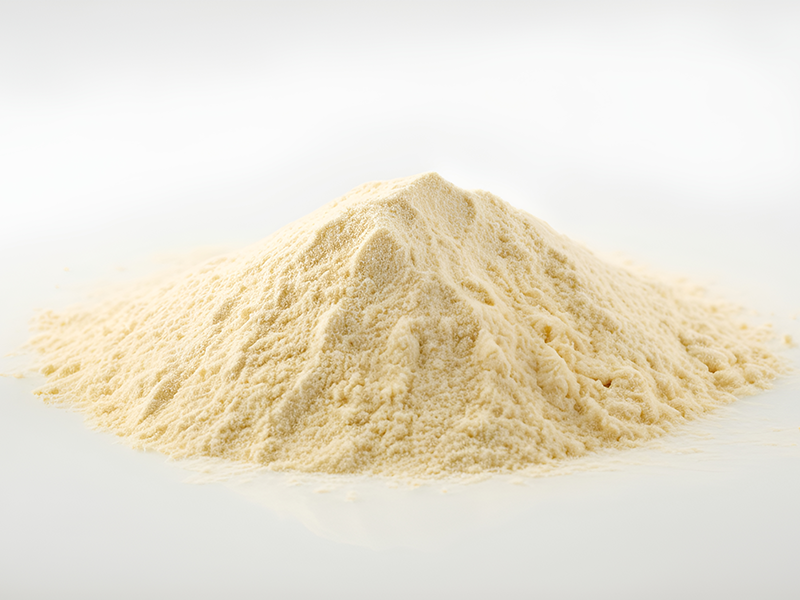
Referring back to that messy oven scene — the real trouble often hides in the recipe’s fine print. When I audited failed batches, a recurring culprit was the filler blend: specifically, how brands and DIYers handle silica powder cosmetic additives. Particle size distribution, hydrophobicity, and cross-linking chemistry interact in ways most users don’t see until the product is stressed. In plain terms: tiny particles can clump, surface treatments matter, and cure kinetics shift with moisture and heat. These are not mysterious forces; they’re measurable—thermal stability, viscosity changes, and shore hardness shifts tell the story.
Why do traditional mixes fail?
Technically speaking, many recipes assume ideal mixing and ignore rheology and surface energy. That makes sense — it’s faster — but the result is inconsistent mold release, variable tensile strength, and sometimes discoloration. Look, it’s simpler than you think: if the silica isn’t treated to match the silicone matrix, you get weak spots. Also, contamination from tools or ambient humidity spikes cure rate unpredictably — I’ve seen it myself. The practical takeaway: standard “one-size-fits-all” fillers fail under realistic use (— funny how that works, right?). Addressing particle chemistry and mixing environment fixes a lot of problems fast.

Forward-Looking: Case Example and Future Outlook
In a small pilot I ran with a bakery product team, we swapped their generic filler for a tailored batch that used optimized silica powder cosmetic with controlled surface treatment. The difference was immediate: less tack, more release, and consistent dimension after repeated cycles. That case taught me two clear things. First, targeted material selection matters more than fancy tooling. Second, monitoring simple metrics — cure time, viscosity at mixing, and final shore hardness — predicts field performance. These are practical, measurable ways to avoid common failure modes.
What’s Next?
Looking ahead, I’m optimistic. New formulations and better supplier transparency are lowering the learning curve for makers and small brands. If you want to evaluate options quickly, here are three key metrics I now use when choosing a silica or silicone solution: 1) particle size distribution and surface treatment data; 2) measured viscosity and cure profile under your actual shop conditions; 3) post-cure mechanical metrics — tensile strength and shore hardness after five cycles. Follow those, and you’ll cut rework dramatically. I recommend tracking these in a simple notebook or spreadsheet — trust me, it pays off. For material sourcing and technical support, I’ve leaned on reliable partners like JSJ when scaling from prototypes to production.