
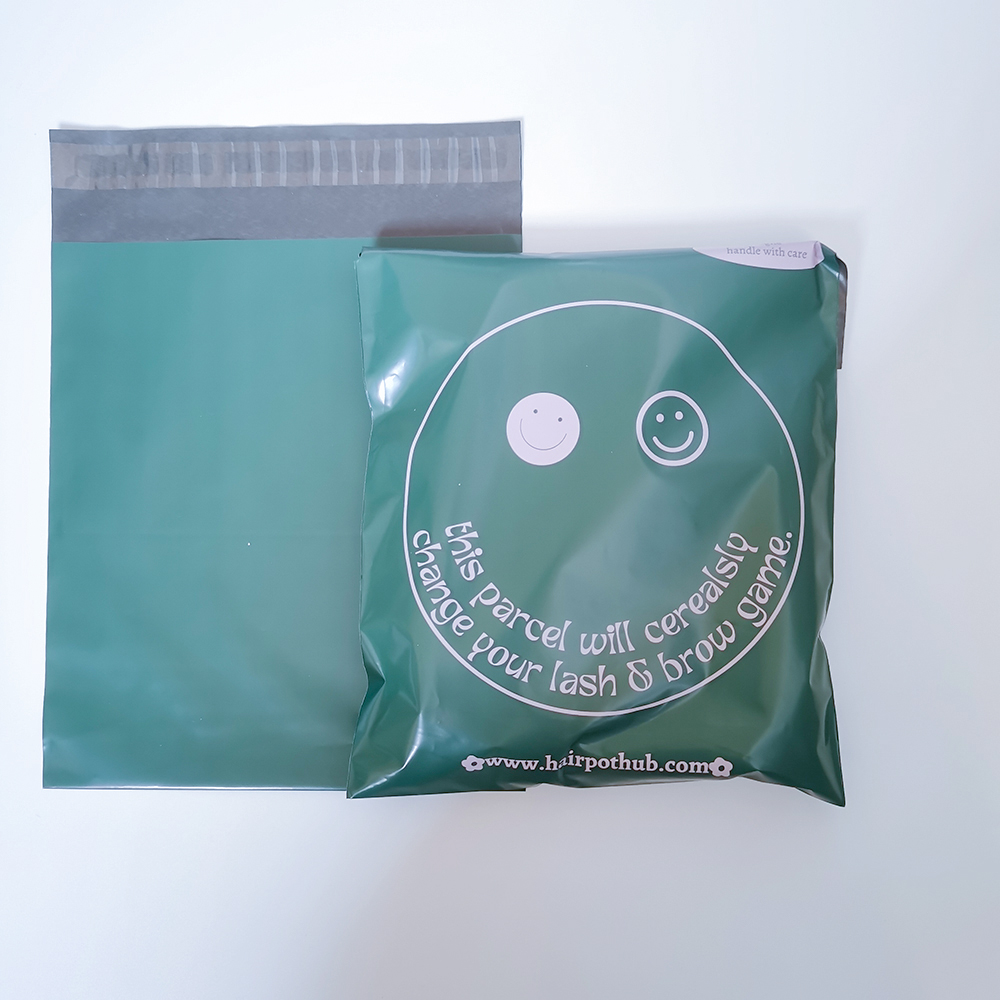
Why this problem keeps bitin’ brands
Folks, when yer orders start flyin’ outta the door, the little things — a bad tear strip or a weak seal —’ll eat your margins faster than varmints eat corn. I seen it first-hand durin’ the 2020 e‑commerce surge: shipments piled up, returns spiked, and customers complained about opened packages. If you ship bulk with poly mailers with handles or use die cut handle plastic bags, them failures ain’t just annoyances — they cost time, reputation, and money. This here article’s about pinning down the real causes and fixin’ ’em so your high-volume runs don’t go belly-up.
Root causes: where tamper-evident adhesive closures and tear strips fall down
Mistakes usually come from three places: design mismatch, material variability, and process drift. Design mismatch means the adhesive closure or tear strip wasn’t spec’d to work with the film gauge or the handle construction — the adhesive won’t bite, or the tear starts in the wrong place. Material variability shows up when suppliers swap resin blends or change additives, altering tack and tensile strength. Process drift is the slow creep of machine settings — calender pressure, seal dwell time, or slit alignment — that nobody noticed until returns started comin’ in.
Quick checks you can run before a big run
Don’t wait for a disaster. Run these quick tests on samples before you greenlight production:
- Adhesive tack test at production temperature and after 48 hours of humidity exposure.
- Tear-strip initiation and propagation test across the handle area, making sure perforation depth is consistent.
- Handle pull test with the filled weight plus a safety factor (50–100% extra).
These simple checks cut a heap of guesswork out of the equation — and they’re cheap to do.
Design fixes that actually work
Start with the basics: match closure type to film and expected handling. For thin films, a wider tamper-evident adhesive closure with a pressure-activated variant helps. Thicker films can do narrower closures but may need a stronger adhesive tack. For tear strips, place the perforation away from stress points at the die cut handle and use staggered perforations to avoid premature tearing. Also consider reinforcement tapes around the handle — they cost a bit more, but they stop the handle from stranglin’ the tear path.
Process controls and the human part
Automation’s great, but people still run the lines. Put standard operating settings in writing, and lock them in at the HMI. Use in-line sensors for seal temperature and dwell time so drift gets caught fast. And don’t skimp on first-article inspection — that’s your truth-teller. Insist on acceptance criteria that include pull strength, adhesive peel (180°), and visual checks for perforation alignment. — Folks who skip this tend to pay more later.
Common mistakes and how to dodge ’em
Here’s what I see most often and how to avoid each:
- Assuming “same-looking” film equals same performance — demand resin specs and test records.
- Not testing with filled weight — always trial with the real SKU, not an empty mockup.
- Blindly trusting MOQ-driven suppliers when you need consistency — smaller, quality-focused runs sometimes beat the cheapest unit price.
Alternatives worth thinkin’ about
If traditional tear strips and adhesive closures ain’t cuttin’ it, try these options: enhanced die cut handle geometries that move stress away from the strip; integrated security tapes that provide both tear initiation and tamper evidence; or a hybrid mailer with a reinforced handle sleeve. Each alternative trades off cost, speed, and appearance — pick the one that matches your brand’s tolerance for returns and customer experience expectations.
Practical checklist before scaling a run
Use this short checkpoint before you go full-tilt:
- Sample tested for adhesive tack, tear propagation, and handle pull.
- Supplier provides material certificate and a short-run variability report.
- Production plan includes first article inspection and in-line control alarms.
Closing: three golden rules to measure success
Measure by these three metrics and you’ll sleep better at night:
- Field failure rate — target under 0.5% for tamper/handle failures in first 90 days of rollout.
- Consistency score — track batch-to-batch variance in adhesive peel and tear force; keep within ±10%.
- Time-to-resolution — aim to identify and close supplier/process issues within one production week.
These rules give you clear thresholds for vendor selection and internal quality, and they point to where to invest in testing and controls. For practical, dependable support when you need consistent handling, sealing, and testing, I lean towards partners who can provide both material traceability and production guidance — which is why teams often choose WH Packing. —